The Lash Client Consultation Step By Step

Picture your first real client sitting in your chair. She is smiling, a little nervous, and says, “I just want them to look natural, but also really full, like the photo I saw on Instagram.” You nod, and suddenly realize you have no idea what to ask next. Do you check her eyes first? Do you ask about allergies? What does “natural but full” even mean? Many new lash artists jump straight to the application, and that is exactly where the trouble starts.
Free Guide
Get Your Free Lash Extensions Starter Guide
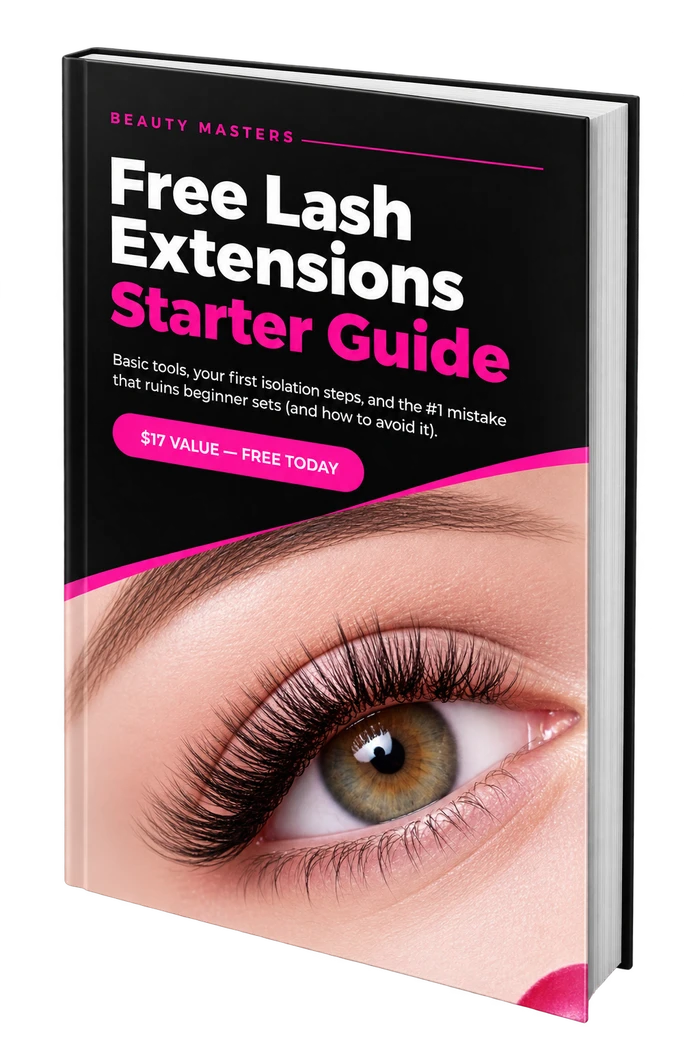
A $17 value, yours free today. We'll send the guide straight to your inbox in the next minute.
You'll also get occasional lash tips by email. Unsubscribe anytime.
The consultation is the safest and most professional part of every lash appointment. It checks that the client is a good candidate, clarifies the look they want, and sets expectations, before a single extension is placed.
Here is a step-by-step walkthrough of a proper lash consultation, and how lash extension training prepares you to run one with confidence.
Why The Consultation Matters More Than It Seems
Beginners often treat the consultation as paperwork to get through before the “real work.” In reality it does three critical jobs:
- Safety. You find out about allergies, eye conditions and sensitivities before anything touches the client’s eyes.
- Clarity. You learn the look the client actually wants, not just the words she used.
- Expectations. You explain how the set will look, how long it lasts and what upkeep involves, so there are no surprises.
A good consultation prevents most of the problems that lead to unhappy clients, refunds or reactions. It also shows the client that you are professional, which builds trust and repeat business.
Step 1: Welcome The Client And Gather Basic Information
Start with the simple things: name, contact details, how she found you, and whether she has had extensions before. Ask about her previous experiences, good and bad. A client who tells you “my last set made my eyes itchy” is giving you very valuable information. A client who has never had extensions may need a fuller explanation of the process.
Step 2: Ask The Health And Safety Questions
This is the most important part. Ask, and record, whether the client has:
- Known allergies, especially to adhesives, tapes or cosmetics
- Sensitive eyes, watery eyes or frequent irritation
- Eye conditions, recent infections or recent eye surgery
- Skin conditions around the eyes
- Regular contact lens use
- Any medical situation your training tells you to ask about before an eye service
If anything on the list raises a concern, your training should tell you when to proceed, when to adjust, and when to decline or ask for a doctor’s advice. For more on this, read lash adhesive sensitivity and patch tests, and what to do if a client reacts to lash adhesive.
Step 3: Examine The Natural Lashes And Eyes
Before you decide anything, look at what you are working with. Check the length, strength, density and direction of the natural lashes, and notice the shape of the eye. Look at the lash line for irritation, redness or leftover product. This is where anatomy knowledge matters, which is why many students review eye and lash anatomy before their first client.
Step 4: Talk Through The Style She Wants
“Natural” and “dramatic” mean different things to different people. Ask questions that reveal what the client truly means:
- Do you want them to look like you are not wearing extensions, or like a noticeable upgrade?
- Are you comfortable with a bolder look for special events, or do you prefer subtle everyday lashes?
- Can you show me a photo of the look you like?
Photos are helpful, but remember that they show one person’s eyes, not hers. Use them as a starting point, then explain how her own lashes and eye shape will change the result. This connects directly to lash mapping for different eye shapes.
Step 5: Set Realistic Expectations
Be honest, kindly and clearly. Explain:
- What her natural lashes can and cannot support safely
- How long the appointment will take
- How long a set typically lasts and why fills are needed
- What aftercare she needs to follow at home
- That results depend on her natural lashes, habits and how she treats the extensions
Realistic expectations prevent disappointment. Clients who understand the process are more likely to follow aftercare, rebook on time and refer friends.
Step 6: Get Written Consent And Aftercare Acknowledgment
A signed consent form protects both of you. It should confirm that the client has answered health questions honestly, understands the risks, and has received aftercare instructions. Keep these forms organized and stored securely. If you are practicing on models during your training, the same principle applies, which is why model consent forms before your lash course is worth reading.
Step 7: Explain The Process And Start Comfortably
Before you begin, tell the client what will happen: cleansing, eye pads, isolating each lash, and roughly how the appointment will unfold. Let her know she can tell you if she feels any discomfort. A calm explanation helps the client relax, which also makes your work easier.
Common Consultation Mistakes New Artists Make
- Skipping the consultation for friends and family. Even with people you know, health questions still matter.
- Rushing through the questions. A client who feels rushed may leave out something important.
- Promising results you cannot guarantee. Be honest about what her natural lashes can support.
- Not writing anything down. If it is not documented, it is easy to forget.
- Ignoring red flags. Redness, irritation or a recent eye issue are reasons to pause, not to push ahead.
The Consultation For Returning Clients
You do not need a full intake every visit, but a short check-in still matters. Ask whether anything has changed since the last appointment: new medications, a recent illness, irritation after the previous set, new skincare or makeup products, or a different look she wants this time. Then inspect the remaining extensions and the natural lashes underneath before you remove anything or add new lashes.
This quick check catches problems early. If a client mentions that her eyes felt sore for a few days after her last visit, you can adjust your approach instead of repeating whatever caused it. It also shows her that you are paying attention, which is one of the strongest reasons clients stay loyal to one artist. To keep those clients coming back on schedule, see client rebooking after your lash course.
What To Do When The Answer Is “Not Today”
Sometimes the consultation tells you the client should not have a set that day. Redness, swelling, an active eye infection, or a reaction to a previous service are all good reasons to pause. Saying so is not a failure, it is exactly why you do a consultation. Explain kindly, suggest she check with a doctor if needed, and offer to rebook once her eyes are healthy. Clients remember an artist who put their safety first, and they tell their friends.
Keeping Records That Protect You
Write things down. Store the consultation form, the style you agreed on, the products and sizes you used, and any notes about the client’s sensitivities. Good records make every later appointment faster and safer, and they give you something concrete to look at if a question ever comes up months later. Even a simple, well-organized notebook or digital file is far better than relying on memory across dozens of clients.
Quick Checklist: A Solid Lash Consultation
- Collect contact details and previous lash history.
- Ask health, allergy and sensitivity questions, and record the answers.
- Examine the natural lashes and eyes before choosing a style.
- Clarify what “natural” or “dramatic” means to this client.
- Explain realistic results, timing, fills and aftercare.
- Get a signed consent form and keep it on file.
- Walk the client through the process before you begin.
What Our Course Includes
The Lash Extensions Master Course includes a dedicated consultation lesson in Module 3, alongside lash application, full set step-by-step application and refills. Later modules cover aftercare, removals, health and safety, professionalism and resolving client expectations. You get 31 video lessons with lifetime access, a Certificate of Completion and a 90+ page training manual.
Final Thoughts
A great consultation is quiet, calm and thorough, and clients remember it. It turns a nervous first appointment into the beginning of a long client relationship, and it protects you from most avoidable problems. If you are getting ready for your first clients, read how to get your first paying lash clients next, or see lash course sanitation and hygiene standards.
Free Guide
Get Your Free Lash Extensions Starter Guide
A $17 value, yours free today. We'll send the guide straight to your inbox in the next minute.
You'll also get occasional lash tips by email. Unsubscribe anytime.
Frequently Asked Questions
The consultation is where you check that the client is safe to receive extensions, learn what look they want, and set realistic expectations. Skipping it is one of the fastest ways to end up with an unhappy client or an avoidable reaction.
Keep Reading
Popular Lash Training Guides
- Minimum Age For Eyelash Extension Training
- Eyelash Extension Training Cost In 2026: Real Breakdown
- Lash Tech License Requirements By State
- Is It Hard To Learn Eyelash Extensions? Honest Answer
Ready to go from reading to doing? See the full Lash Extensions Master Course or browse all lash training guides.