Set Up Instagram For Your Lash Business
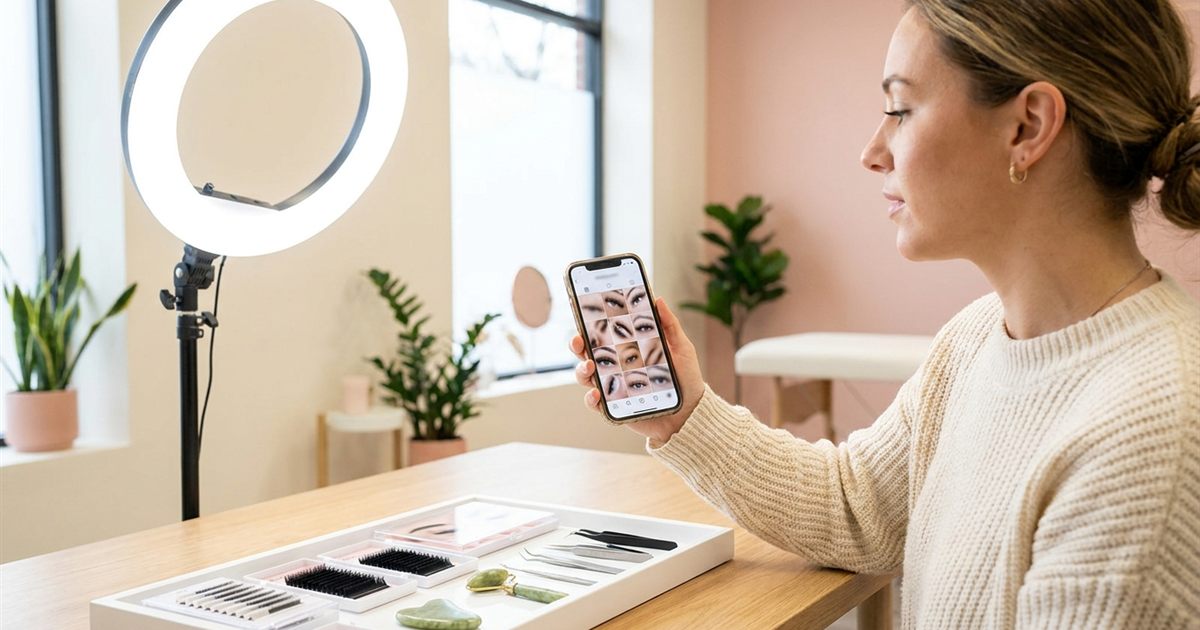
For most new lash artists, Instagram is the first place a potential client looks. Before she books, she wants to see your work, your style and whether you feel trustworthy. That does not mean you need a huge following or a professional photographer. A clear, simple, consistent profile is enough to turn visitors into booked appointments. This guide shows you how to set up Instagram for your lash business step by step, from your username and bio to highlights, posts and your booking link, so that when you finish your lash extension course your profile is ready to work for you.
Free Guide
Get Your Free Lash Extensions Starter Guide
A $17 value, yours free today. We'll send the guide straight to your inbox in the next minute.
You'll also get occasional lash tips by email. Unsubscribe anytime.
Why Instagram Works For Lash Artists
Lash work is visual and personal. People choose a lash artist by looking at close up photos, reading comments and checking how real clients describe the experience. Instagram makes all of that visible in one place, and it is free to start.
It also supports other parts of your business: clients can message you, see your availability and share your work with friends. You do not have to love social media, but a tidy profile does a lot of quiet selling.
Start With A Business Or Creator Account
Use a professional account rather than a personal one. A business or creator profile gives you a contact button, a category label and basic insights. Keep your personal life separate if you prefer, but make your professional profile public so potential clients can see it without sending a request.
Choose A Clear Username And Name
Your handle is how people find and tag you. Choose one that is easy to spell and say, includes a hint of what you do and matches your business name. If your exact name is taken, a small variation such as adding “lashes” or your city can work.
In the name field, which is searchable, add keywords. For example: “Maria | Lash Artist” or “Soft Set Lash Studio”. If you are still deciding on a name, read how to choose a name for your lash business first.
Write A Bio That Answers Four Questions
You have very little space, so make every line count. A strong lash bio answers:
- What do you do? “Classic, hybrid and volume lash extensions.”
- Where are you? City, neighborhood or “mobile” if you travel.
- Why you? A short detail: “Certified lash artist”, “Natural looking sets”, “Gentle approach”.
- How do I book? A clear call to action with your link.
An example: “Lash artist in [city] | Classic and volume sets | Gentle, natural results | Book below”. Only claim credentials you truly have. If you completed training and hold a certificate of completion, you can say you are trained, but do not imply a license you do not hold. See lash course certificate vs state license.
Add A Booking Link That Works
Your link is the most important part of your profile. It should take the client directly to a page where she can see your services and book. That may be a booking tool, a simple page or a messaging link. Make sure it works on a phone, loads quickly and is easy to understand. For setup ideas, read your first booking website after lash classes and booking systems and deposits.
Create Highlights That Answer Questions
Highlights stay at the top of your profile and let new visitors learn fast. A simple set for a beginner includes:
- Services: what you offer and a short description of each style.
- Prices: or a “starting from” range, so people know what to expect.
- Aftercare: how to care for lashes, which also shows professionalism.
- FAQ: common questions about time, retention and allergies.
- Results: a few photos of your best work.
- Policies: deposit, late and cancellation rules.
Clear information reduces repeated messages and filters in the right clients.
Plan Your First Posts
You do not need dozens of posts to look credible, but you do need a few good ones. Aim for a small grid that shows variety and quality:
- Before and after images with clear lighting. See before and after photos that sell you.
- Close ups of finished sets, showing neatness and shape.
- A short intro: a photo of you or your workspace, with a sentence about who you are.
- A style guide: a simple post explaining the looks you offer, such as classic and volume.
- Education: one clear tip about aftercare or retention.
Quality beats quantity. Three excellent posts are better than twelve blurry ones. For lighting tips, read portfolio photo lighting after your lash course.
Be Honest About Practice Work
While you are training, you can share your progress, but be honest. Label mannequin photos as practice, and do not present them as client results. Always get permission before posting a model’s photos, and avoid showing faces if the person prefers privacy. Transparency builds trust, and clients appreciate seeing a beginner who is serious about learning. If you use models, review model consent forms before your lash course.
Use Stories And Reels Without Overthinking
Stories are a low pressure way to show your process: setup, tools, a quick before and after, a behind the scenes moment. Short videos of an application, with a calm sound or simple caption, can reach new people. Keep it simple:
- Film in good light and keep the camera steady.
- Focus on one idea per video.
- Show the result, not only the process.
- Avoid private client details.
If you feel unsure, start with a few stories a week and add short videos when you are comfortable.
Engage Locally, Not Everywhere
Your best clients are usually within a reasonable distance. Make your location visible and interact with local accounts: nearby shops, salons, wedding vendors and community pages. Add your location to posts and use a few relevant, specific tags rather than a long list of generic ones. Local partnerships can also help; see find lash clients through local partners.
Reply Quickly And Keep Records
Direct messages are often the first conversation with a future client. Reply promptly, answer clearly and guide her to your booking link. Keep a short template for common questions such as prices, duration, aftercare and deposits, and personalize it each time. When someone books, record the details in a client record card.
Avoid These Common Mistakes
- An unclear profile: visitors cannot tell what you offer or where.
- No booking path: a client who has to ask how to book may leave.
- Inconsistent look: random filters and styles make you look less established.
- Overpromising: claims about retention or results you cannot guarantee.
- Posting only promotions: mix education, results and personality.
A One Week Setup Plan
If the list above feels like a lot, spread it across a week so it never becomes overwhelming:
- Day one: switch to a professional account and choose your handle and name.
- Day two: write your bio and set up your booking link.
- Day three: collect your best photos and edit them lightly for brightness and consistency.
- Day four: create your highlights: services, prices, aftercare, FAQ and policies.
- Day five: publish your first two or three posts with clear captions.
- Day six: follow and engage with local businesses and wedding vendors.
- Day seven: review your profile as if you were a new client and fix anything confusing.
Finishing the basics in a week gives you momentum and a profile you can actually be proud to share.
What To Write In Captions
Captions do not need to be long. A good lash caption names the style, mentions what the client wanted and ends with a simple invitation to book. For example: “Soft classic set for a client who wanted a natural, wake up look. Booking is open for next week, link in profile.” Avoid vague claims and never promise specific retention days. Education captions, such as a short tip about washing lashes gently, show expertise without sounding pushy and give people a reason to follow you.
Build Slowly And Stay Consistent
A strong profile is built over weeks, not in one afternoon. Set up the basics now, post a few times a week and improve as you learn what your clients respond to. Social media supports your craft; it does not replace it. Clients stay because of how their lashes look and how you treat them.
The Lash Extensions Master Course covers technique, safety, consultation, pricing, scheduling and marketing topics so that the work you show online is something you are proud of. Start your profile while you learn, document your progress honestly and let your account grow alongside your skills.
Free Guide
Get Your Free Lash Extensions Starter Guide
A $17 value, yours free today. We'll send the guide straight to your inbox in the next minute.
You'll also get occasional lash tips by email. Unsubscribe anytime.
Frequently Asked Questions
It is not required, but clients often look for lash work visually, so a simple profile with clear photos and a booking link makes you much easier to find and trust.
Keep Reading
Popular Lash Training Guides
- Minimum Age For Eyelash Extension Training
- Eyelash Extension Training Cost In 2026: Real Breakdown
- Lash Tech License Requirements By State
- Is It Hard To Learn Eyelash Extensions? Honest Answer
Ready to go from reading to doing? See the full Lash Extensions Master Course or browse all lash training guides.