You Finished Your Lash Course. Here Is How To Get Your First Paying Clients
You finished the last lesson, maybe you even have the certificate saved on your phone, and now you are staring at an empty booking calendar with absolutely no idea what happens next. Nobody teaches the part after “you’re trained,” and that gap is exactly where a lot of genuinely skilled new lash artists quietly give up before they ever book a single real client.
Free Guide
Get Your Free Lash Extensions Starter Guide
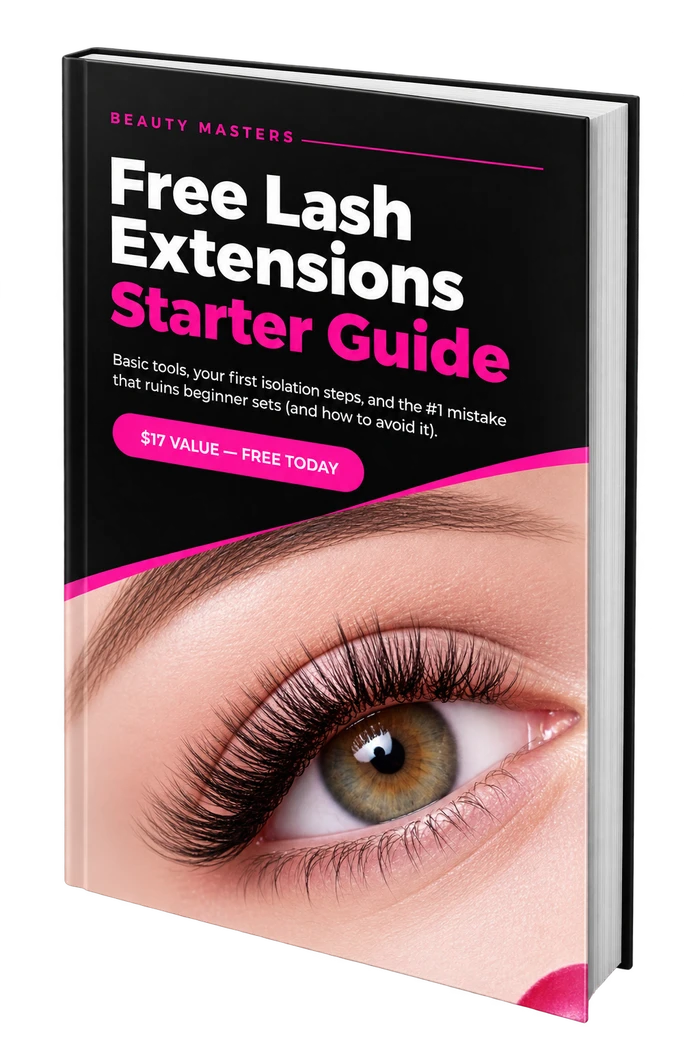
A $17 value, yours free today. We'll send the guide straight to your inbox in the next minute.
You'll also get occasional lash tips by email. Unsubscribe anytime.
Most working lash artists did not start with paying strangers. They started with 3 to 5 practice clients, built a real portfolio from those sets, and let referrals take it from there.
Here is the actual step-by-step path from “just finished my course” to a real, paying client base.
Step 1: Book 3 To 5 Practice Clients First
Before you touch a paying stranger’s lashes, offer a discounted or free set to a small handful of friends, family, or coworkers who understand it is still practice. This is not a detour from becoming a professional, it is how nearly every working lash artist actually starts. It gives you repetition on real skin and real lash growth patterns, which behave differently from a mannequin head.
Step 2: Photograph Every Single Set, Even The Imperfect Ones
Clear, well-lit before-and-after photos, ideally with a ring light and a plain background, are the single most persuasive thing you can show a stranger considering booking you. Do this from client number one, not once you feel “good enough,” because your portfolio needs volume as much as it needs your single best set.
Step 3: Build A Simple Portfolio Before You Post Publicly
You do not need a website. A dedicated Instagram account with 5 to 10 strong before-and-afters, a clear bio stating your training and location, and a way to message you is enough to start. Consistency matters more than polish, post new sets regularly rather than waiting for a “perfect” one to justify a post.
Step 4: Price Your First Real Clients Below Your Eventual Rate
Set an honest introductory price, often 30 to 50 percent below what you plan to charge once you are consistent, and be upfront that it reflects your current experience level. This removes the pressure of charging full price before your speed and retention are reliable, while still respecting your time and skill.
Step 5: Ask Every Client For A Review And A Referral
Right after a client sees their finished set and is happiest with it, ask directly: a short review, and whether they know anyone else who might want to book. Most new lash artists skip this step out of discomfort, and it is consistently the fastest way early bookings compound into a real client base.
Step 6: Track Retention, Not Just Bookings
A client who comes back for a refill three weeks later is a far stronger signal that you are ready to raise prices than simply having a full calendar. Retention problems that are ignored early tend to surface later as bad reviews, so treat refill bookings as your real scorecard, not just first-time appointments.
Step 7: Raise Prices Once You Are Consistent, Not Once You Feel Ready
“Feeling ready” and “being consistent” are different things, and waiting for the first one often means undercharging for months longer than necessary. Once your set time and retention are reliable across different clients, not just your easiest ones, it is time to move toward full pricing.
Quick Checklist: Your First 90 Days
- Book 3 to 5 discounted or free practice clients.
- Photograph every set, from day one.
- Build a simple Instagram portfolio with 5 to 10 strong photos.
- Price introductory clients below your eventual full rate.
- Ask every client for a review and a referral, every time.
- Track refill bookings as your real readiness signal.
- Move to full pricing once speed and retention are consistent.
What Our Course Includes
The Lash Extensions Master Course includes dedicated business training alongside technique: pricing your services, structuring appointments, and handling client consultations, so the “what happens after training” question is answered before you finish the course, not left for you to figure out alone afterward.
Final Thoughts
A finished course and a full calendar are two different milestones, and the gap between them is a plan, not more talent. Follow the steps above in order, and that gap closes faster than most new lash artists expect. See the exact business training built to get you there, next.
If you are still building confidence in your actual technique, read Is Learning Lash Extensions Hard? What Beginners Actually Struggle With next, or revisit do you need a certification to work as a lash artist.
Free Guide
Get Your Free Lash Extensions Starter Guide
A $17 value, yours free today. We'll send the guide straight to your inbox in the next minute.
You'll also get occasional lash tips by email. Unsubscribe anytime.
Frequently Asked Questions
Start with 3 to 5 practice clients at a discounted or free rate to build a real portfolio, post those results consistently on Instagram and TikTok with clear before-and-after photos, and ask every practice client for a review and a referral before moving to full pricing.